


When you set up Bank Reconciliation in Microsoft Dynamics GP (formerly known as Great Plains), you can enter or void transactions and deposits. After posting, you can print audit trail reports and transaction reports to analyze the accuracy of your records, and to simplify edits. You can review the report information before reconciling your checkbook.
All Bank Reconciliation transactions and access are in the Financial Module under Transactions.

In Part 1 of this series, we covered:
- Bank Deposits
- Bank Transactions
This article will cover:
- Miscellaneous Check
- Bank Transfers
- Reconcile Bank Statement
Miscellaneous Check
Use the Miscellaneous Checks window to print checks for one-time purchases that are not recorded as transactions anywhere else. You can print and post a check from this window, or you can post checks from this window without printing them.
*You can enter a check, and then print the check from this same window. This is good in the event you have a COD. This essentially is a “check on demand” for payments that you are not setting up a vendor for. This payment will not be reflected in Payables, and will not produce a 1099.

You will still have to go into batches and post the transaction batch created by your miscellaneous check so it posts through to the GL.
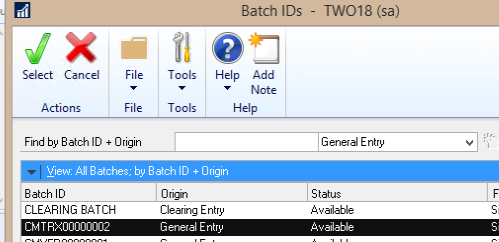
- Go into batches: Financial >> Transactions >> Batches
- Open your batch – will be a CMTRX batch ID
- Verify your transactions, and post the batch.
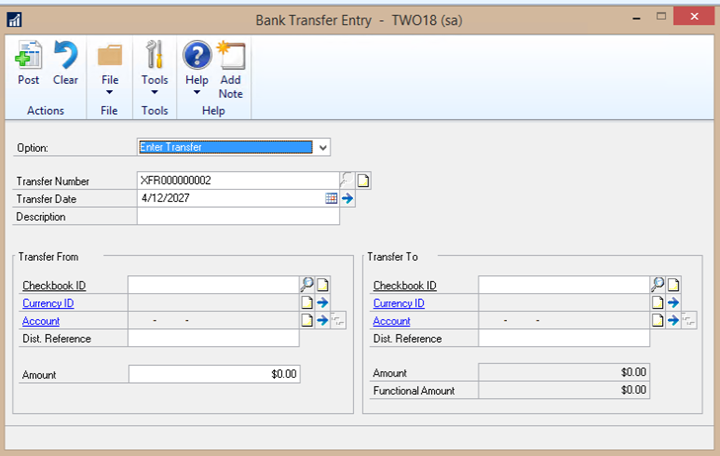
Bank Transfer
Use the Bank Transfer feature to transfer funds within same company between checkbook IDs. This also does a journal entry to update General Ledger.
Reconcile Bank Statements
Entering Statement Information
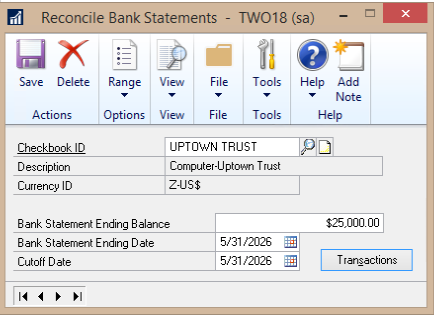
- Select Checkbook ID.
- Bank Statement Ending Balance – Ending Balance from bank statement.
- Bank Statement Ending Date – Date from bank statement.
- Cutoff Date – Date to include transactions through from Checkbook Register
Transactions – opens the window to mark cleared transactions for reconciliation.
Clearing Transactions

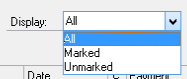
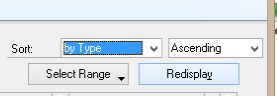
- Modify records displayed
- Sort By Ascending/Descending.

- Redisplay.
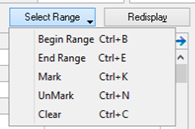
- Range – change information that’s shown in the window. This selects Beginning and Ending Range and then Mark, UnMark, or Clear from the Range selected.
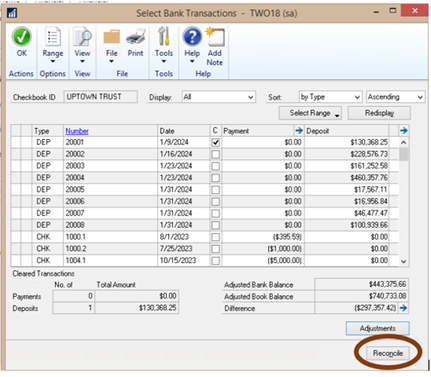
- Check the box for column C for items that cleared the bank. Then select an item and click Number to see the transaction.


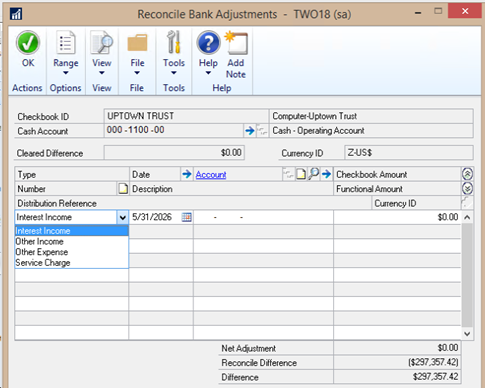
Adjustments

Enter adjustments to checkbook. Then click OK.
Reconcile
Once the difference is zero, click Reconcile to finalize the reconciliation. Some reports cannot be reprinted – print copies of report for your records.
Note: Once a reconciliation is finalized, it cannot be undone within the GP Application. Please contact your Microsoft Partner for assistance.
Inquiries and Reporting
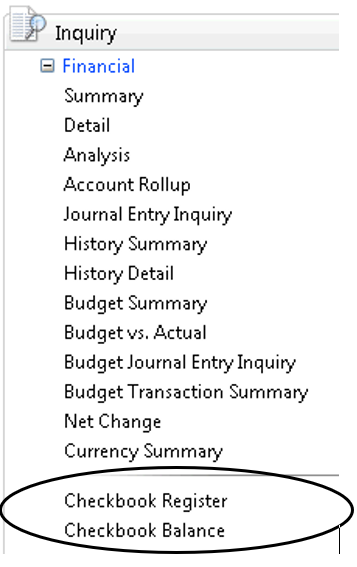
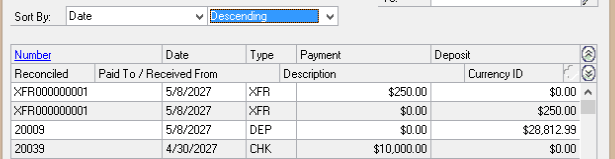
Checkbook Register Inquiry –
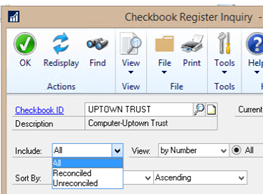
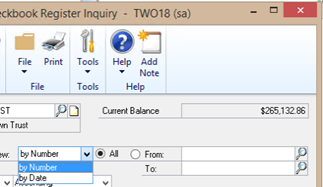
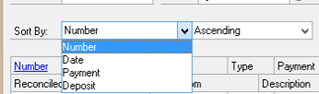
Sort by
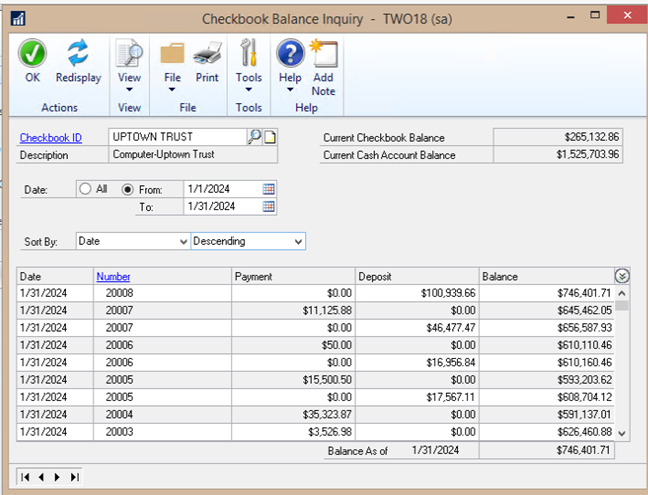
Checkbook Balance Inquiry –
Provides an inquiry, with a rolling balance and the balance as of the provided End/To date
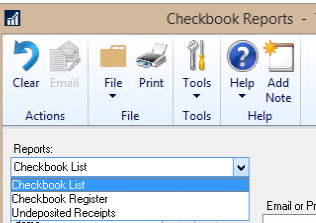
Reports – CHECKBOOK
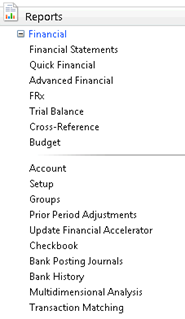
You have three different types of reports which can be run from the Checkbook option:
Select your options and run as you would any other report query.
Reports – BANK POSTING JOURNALS

There are several types of reports that you can pull in GP to Reprint the various Bank Posting Journals.
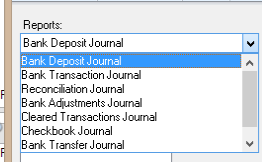
These reports are primarily driven by Audit Trail Code, however the Posted Date is available to review when selecting the Audit Trail Code.
Select your options and run as you would any other report query.
If you need additional assistance, then get in touch with our support team!