


Standardize and simplify your communications with your vendors using Dynamics GP (formerly known as Great Plains) by using pre-set emails for certain types of documents. That doesn’t mean you’re stuck with a one-size-fits-all formula – messages can be personalized to include specifics for names, dates, amounts etc.
In this article, we’ll run through the steps needed to set up the functionality in your Dynamics GP for emails related to purchasing transactions.
Topics covered:
- Company settings – Email
- Email message setup
- Setup email for Purchasing
Company Settings – Email
Before sending out any documents, you must first establish set the email options for the Company.
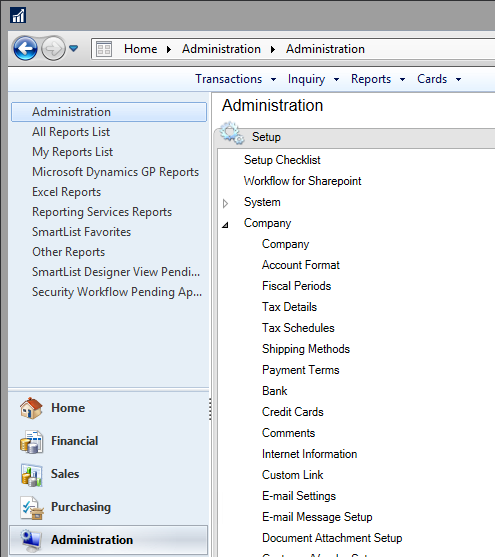
1)In Dynamics GP, go to Administration | Setup | Company | Email Settings
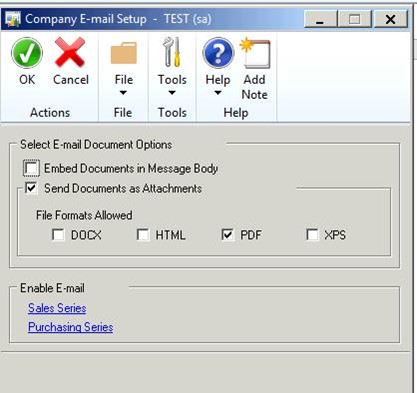
2) Choose to Embed the Document in the E-mail Message Body or as an Attachment
-
- If Attachment, choose format for Attachment (DOCX, HTML, PDF, XPS)
3) Click OK
E-mail Message Setup
The Message Setup window is used to create, modify, or delete message IDs for Email Templates that can be:
-
- Defaulted at the company level (Sales/Purchasing, Setup, E-Mail Settings)
- Customized at the customer/vendor level (Customer/Vendor Card, Email button)
- Used to display information from fields in GP (like name, document number, dates)
- In Dynamics GP, go to Administration | Setup | Company | Email Message Setup
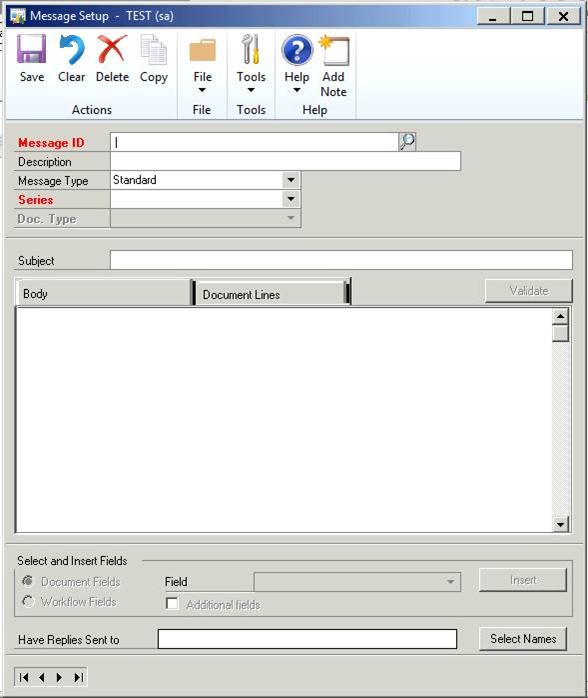
- Give your message a unique name in Message-ID. Make it one that is easily identifiable for all system users
- Add a description to help you further identify and select the correct message later
- Set Message Type as Standard
- Set Series as Purchasing
- Select the desired Document Type
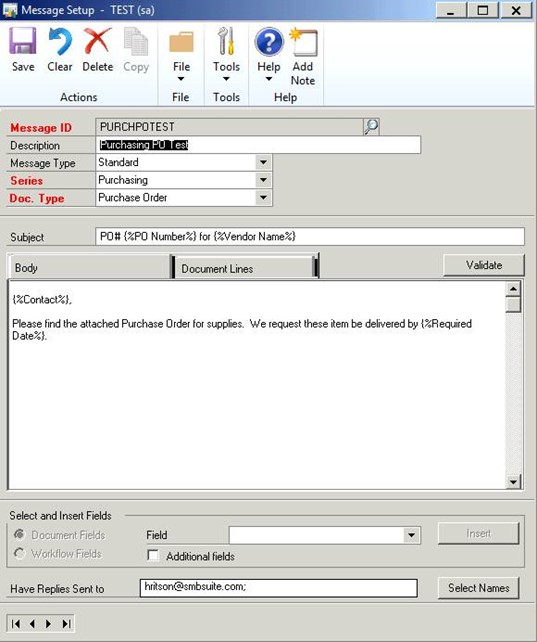
- Type text into the Subject and Body as you would want it to appear in the email. You can customize the subject or message body by adding a field or fields associated with a document type from the series you selected. To customize a message with additional fields:
-
- Place the cursor in the Subject field or in the message body where you want the field added
- From Field, select an additional field
- Choose Insert
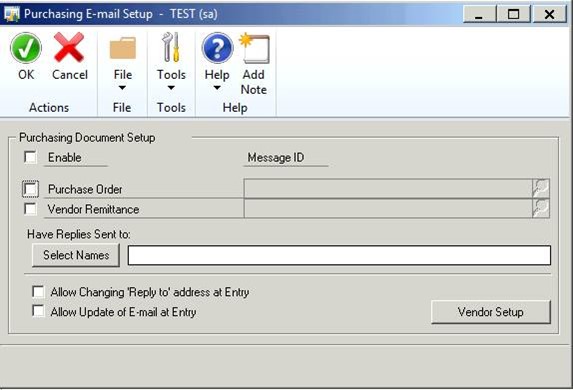
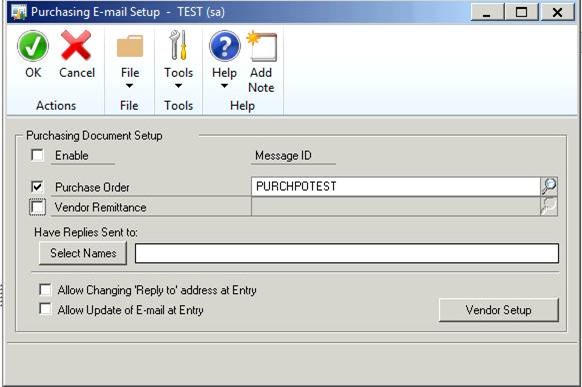
Setup email for Purchasing in Dynamics GP
Set the default e-mail message that will be used for each document type that will be emailed.
1) In Dynamics GP, go to Purchasing | Setup | Email Settings

2) Select the Document Type to be set up (Purchase Order or Vendor Remittance) and the Default Message ID, click OK.
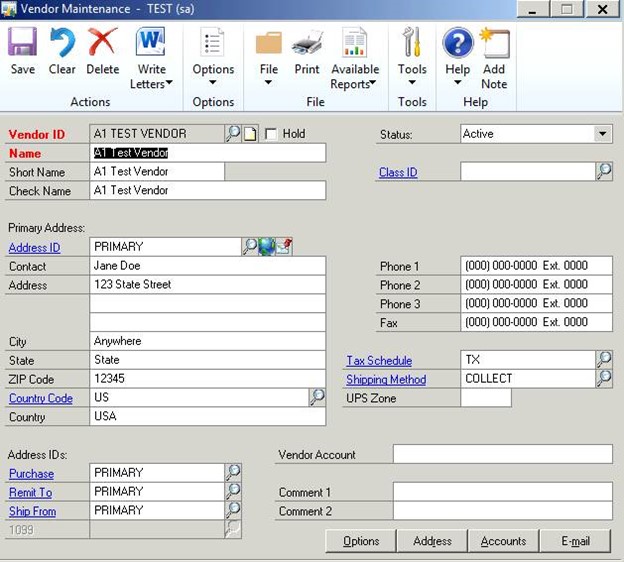
Setup Vendors for E-mail
The final step is to update the Vendor in GP to include e-mail addresses for the Vendor, enable the Vendor to receive emails, and confirm or change the e-mail message to be sent for the different document types.
1) In Dynamics GP, go to Purchasing | Cards | Vendors

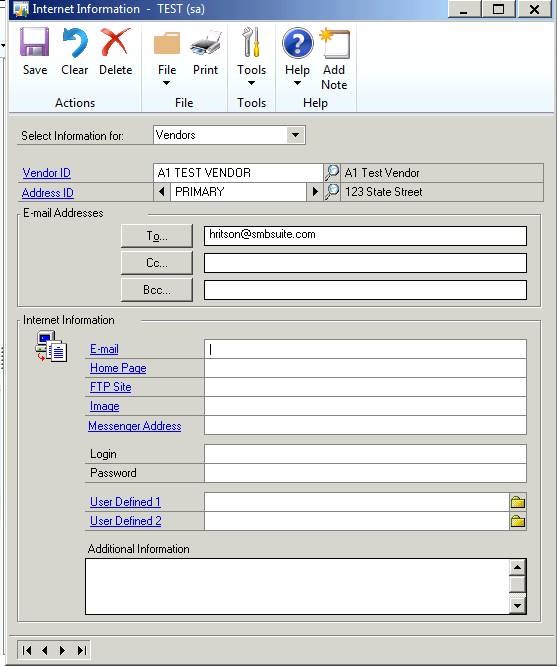
2) Click on the Globe Icon (next to the Address ID)
![]()
3) Enter the E-mail Address (or Addresses) for this vendor in the E-mail Addresses
4) Click Save and close the window.
5) You are now back at the Customer Card Window. Click the E-mail button on the lower right
![]()

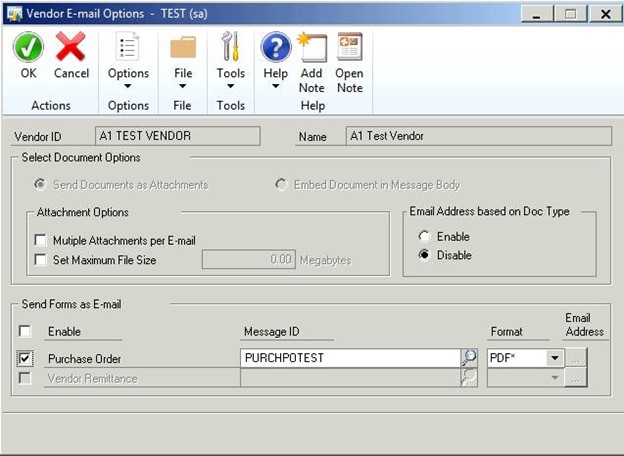
6) Select the document types to be E-mailed for this vendor.
7) The Message ID selected at the Sales level will default. You can change the message ID.
8) Click OK then click Save on the Vendor Card.

Your Dynamics GP should now be set up to email purchasing documents directly from your system. If you need additional assistance, then get in touch with our support team!